Safety Grab Bars

Shower Grab Bars

How Do I Choose The Best Grab Bar For My Shower?

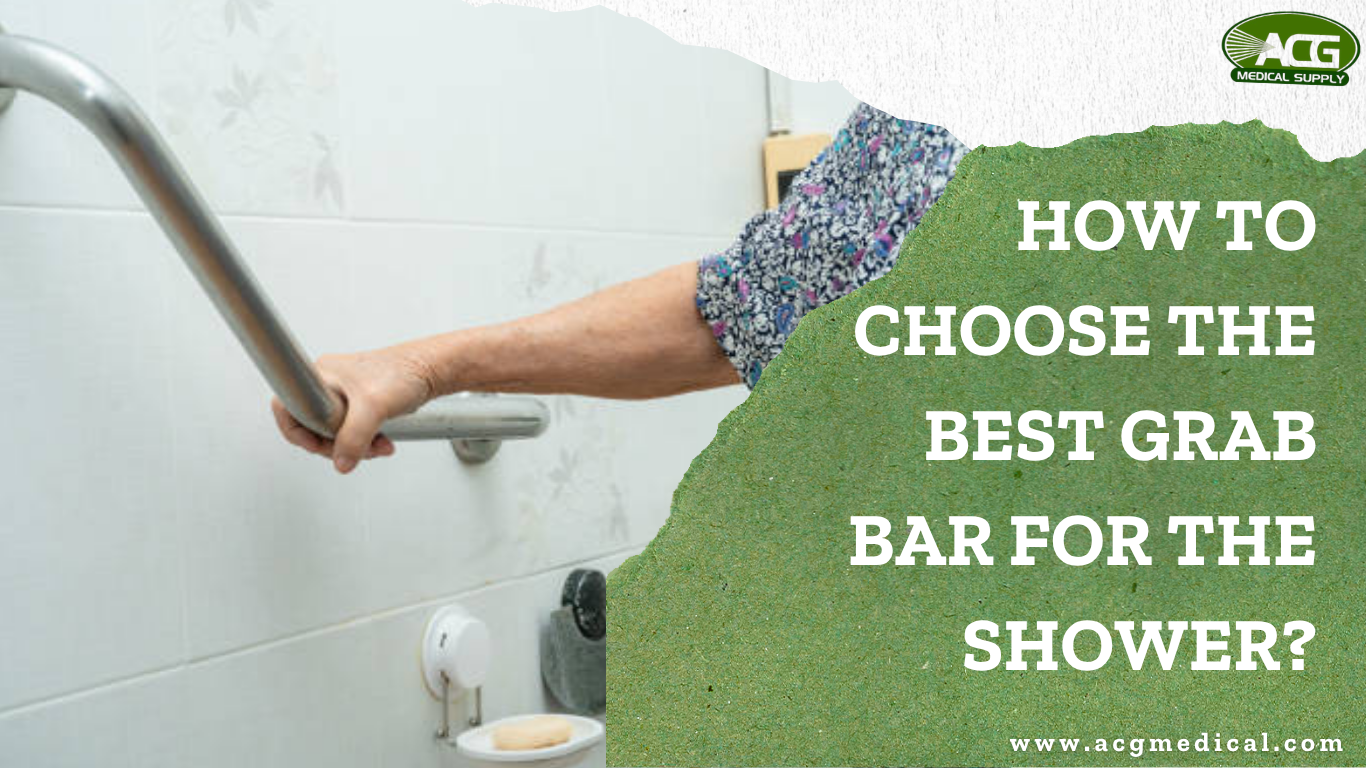
The shower is, objectively, the most treacherous square footage in your home. You’re standing on a wet, slick surface, likely without much to hold onto, while water obscures your vision. It’s a physics problem waiting for a bad solution. Most people don’t think about bathroom grab bars until a “near-miss” happens, that sudden, heart-stopping lurch when a foot slides an inch too far, or when you realize you’re relying on a flimsy plastic soap dish for balance.

Choosing the right hardware isn’t just a quick pick from a catalogue. It comes down to understanding how slips actually happen and how people naturally try to catch themselves. In the end, you’re not just putting up a metal bar; you’re adding something you can trust in that split second when your balance goes out.

Do not fall into the trap of a “quick fix.

We have to talk about the elephant in the room: suction cup grab bars. They are marketed as the ultimate convenience for renters or anyone who doesn’t want to drill into expensive Carrera marble. But from a safety perspective, they’re really just high-stakes vanity items. Suction cups need a perfect seal against a clean, non-porous surface. Your shower has steam, soap film, and temperature fluctuations that cause the wall to expand and contract. Any one of those things degrades the seal over time. You won’t know it’s failing until you grab the bar and take the wall and yourself with you. That’s not a hypothetical. It’s what happens.

The only grab bar worth trusting is one bolted into wall studs. That’s it. The screws go into the 2×4 framing behind the tile, the bar doesn’t move, and it’ll still be there in twenty years. If drilling genuinely isn’t an option, renting, or the tile is too expensive to risk, go with a floor-to-ceiling tension bar instead. They wedge between the floor and the ceiling without fasteners and hold real weight. Not as ideal as wall-mounted, but infinitely more reliable than a vacuum seal that’s slowly losing the fight against your shampoo.

Floor-to-ceiling bars also solve a different problem: layouts where the wall just isn’t close enough. Big open shower, freestanding tub, bench too far from any surface, the bar goes anywhere you need it, at any grip height, without having to plan around where the studs are.

Materials: not all metal is created equal

When you start looking at the features of grab bars, you’ll notice a massive price gap between the stuff at the local pharmacy and the stuff in a design showroom. There’s a reason for that.

  • Plastic grab bars: You see these in the “as seen on TV” sections. They’re also, to be blunt, not the best bet for any situation where someone is depending on the bar for serious support. Temporary? Maybe. Post-surgery at a rental house where you can’t drill walls? Okay. But for a permanent bathroom setup, plastic isn’t what you want.
  • Aluminum grab bars: These are the middle ground. They’re lightweight and naturally resistant to corrosion, which is a big deal in a wet stall. However, they don’t always have the same heft or density that gives you confidence. They’re a reasonable pick for lighter daily use, but if you’re installing a bar for someone who relies on it heavily for transfers or balance, step up to steel.
  • Brass grab bar: If you’re worried about your bathroom looking like a hospital wing, brass is the move. It’s dense, it’s heavy, and it’s usually finished in beautiful brushed golds or oil-rubbed bronzes. It feels premium because it is. You get the safety of an industrial rail with the look of high-end jewelry for your bathroom. The one caveat: brass requires slightly more maintenance to keep the finish from dulling, especially in a high-humidity shower. A quick wipe-down after use goes a long way.

Ergonomics over “standard” rules

People love quoting that “standard” height, 33 to 36 inches, like it’s some universal truth. It’s not. It’s just a number that works okay for an average person. If you’re taller, shorter, or just move a bit differently, it can feel off straight away.

Honestly, the easiest way to get it right is to just step into your shower and try it out. Stand where you usually stand. Act out getting in, turning, and maybe sitting down if you have a bench. Don’t overthink it. Just notice where your hand goes when you pretend to steady yourself. That spot is usually more accurate than any guideline.

There are a few placements that tend to work for most people:

  • Entry/threshold bar: around 33–36 inches, near the opening. That instinct grab when you step in or out.
  • Standing support bar: roughly 48–52 inches. This one’s for those everyday movements, shifting, rinsing, turning.
  • Seat-assist bar: lower, around 28–32 inches, often angled. Helps when you’re pushing yourself up.

Also, not every bar needs to be straight. Angled grab bars for the shower, especially around that 45-degree tilt, just feel better in use. Your hand can move along them more naturally instead of locking into one position. And length… people really underestimate that. Short bars look tidy, sure, but they don’t give you much room to catch yourself. In a slip, your hand isn’t precise. It just reaches. A longer bar gives you more chances to actually grab onto something. And that one small detail can make all the difference.

Texture: the secret to staying upright

A polished chrome bar looks great until it gets covered in shampoo. Then it becomes a greased pole. When evaluating the features of bathroom grab bars, always look at the finish. “Peened” or “knurled” textures (basically just a slightly roughened surface on the metal) provide the friction your hand needs. If you must go with a smooth finish for aesthetic reasons, make sure the bar has a larger diameter so you can get a full, closed-fist wrap around it.

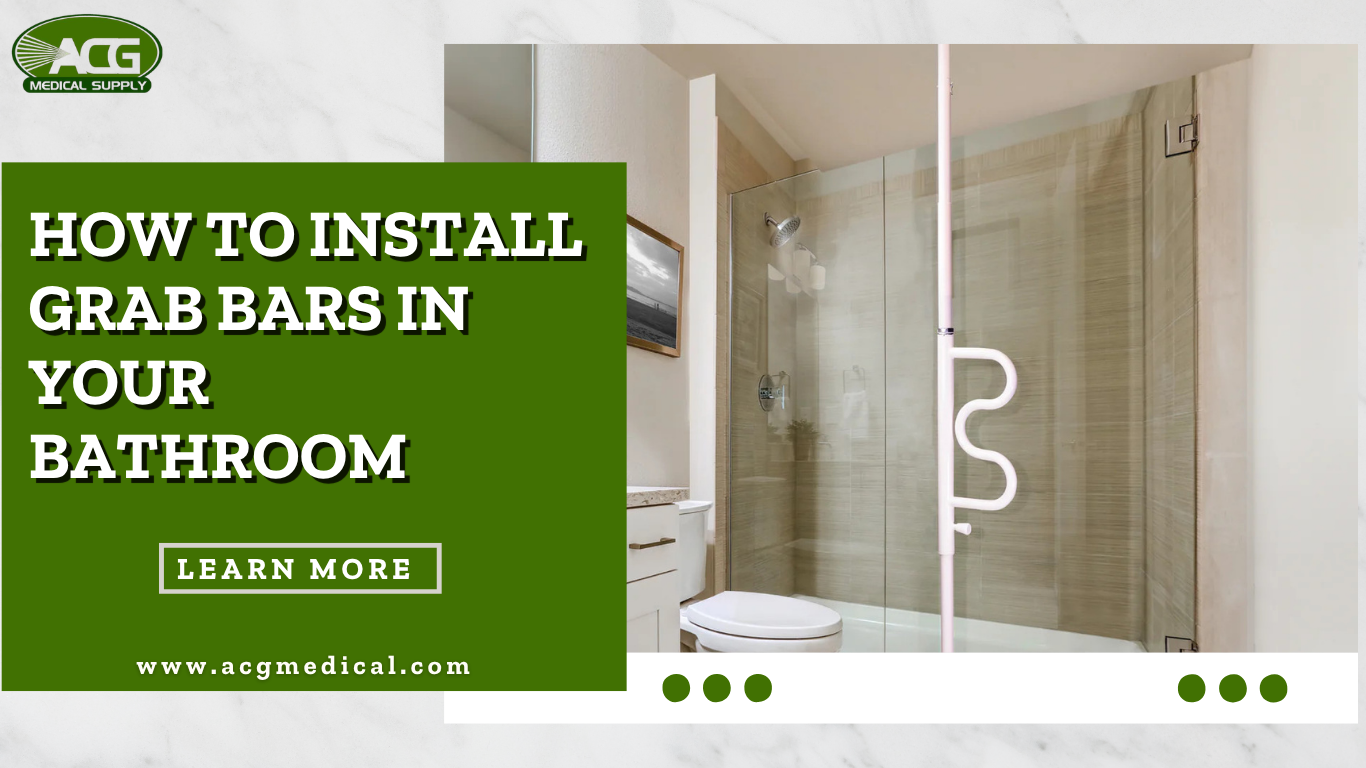
Once you’ve selected the perfect grab bar based on material, style, and texture, the next step is proper installation. Our detailed guide on How to Install Grab Bars in Your Bathroom the Right Way walks you through the entire installation process step-by-step, ensuring your grab bar is securely mounted and ready to provide the safety and support you need for years to come.

Comparison of grab bar types

TypeBest ForProsCons
Wall-mounted grab barsPermanent safetyStrongest support; highest weight capacityRequires drilling; harder install
Suction cup grab barsTravel onlyNo tools needed; portableUnreliable; never appropriate for full-weight support
Folding grab barsSmall showers/TransfersSaves space; flips out of wayMore expensive; needs solid blocking
Floor-to-ceiling grab barsOpen spaces; rentersNo wall needed; very stableBulky; not suitable for very low ceilings

One more thing worth saying

Bathroom grab bars aren’t just for seniors. That association probably does more harm than anything else in how people think about this category. Grab bars are for wet surfaces, which describes every shower on earth. They’re useful after a knee surgery at 35. They’re useful when you’re tired and not as steady as usual. They’re useful for kids who are just finding their footing.

People with balance or mobility challenges need them the most, no question, but the idea that installing one says something about your age or ability has kept a lot of people from making a genuinely smart home decision. Think of it the same way you think of a handrail on a staircase. Nobody questions that one.

Conclusion

Honestly, this isn’t the kind of thing anyone plans their weekend around. You’re not excited to shop for it, and you’re definitely not showing it off to anyone. But once it’s in place, you notice it without really thinking about it. That steady, no-movement grip when you reach out. It just holds.

Some people don’t mind the bulky, obvious bars. Others want something that sort of disappears into the space. Doesn’t really matter which way you go. At the end of the day, you’re just making sure one small misstep doesn’t turn into something worse.

FAQs

1. Can I just screw these into the drywall? 

No, you’ll rip the wall down; hit a stud or use specialized heavy-duty anchors.

2. Do I really need a 36-inch bar? 

Longer is better because it gives you a much bigger “catch zone” if you slip.

3. Are suction cups okay for permanent use? 

Absolutely not; steam and soap eventually kill the vacuum seal.

4. What is the best material for grip? 

Stainless steel with a “knurled” or textured finish is the gold standard for wet hands.

5. What does ADA-compliant shower grab bar actually mean? 

It means it passed stress tests for 250 lbs of force and has the right wall clearance.

Guide to install grab bar in bathroom

How to Install Grab Bars in Your Bathroom the Right Way

The bathroom is a private territory. People don’t like asking for help in there. Don’t like admitting the floor feels slippery some mornings, that the steam makes them dizzy, or that getting in and out of the tub has become something they dread. So they don’t say anything. They manage. They hold onto the edge of the sink or the shower curtain rod and hope for the best.

Hope isn’t a great plan when the floor is wet.

For a lot of families, the conversation about grab bars starts after something has already gone wrong. A fall. A close call. A parent who insists everything is fine, but you’ve noticed they’ve stopped showering as often. That’s the moment. Not a brochure, not a home safety checklist, just a moment where it becomes obvious that the bathroom needs to be taken seriously.

And the fix, honestly, isn’t complicated. A few bars in the right spots, mounted the right way, change everything about how safe that room feels.

Why Getting the Placement Wrong Is Worse Than Not Installing at All

A poorly placed bar can do more harm than good.

It gives a sense of safety, but when someone reaches for it, the angle feels off, or it’s just out of reach. That split second matters. This is especially true with grab bars for seniors, where there’s less room to adjust mid-movement.

Placement is all about how the body moves.

Near the toilet, it’s not just sitting or standing. It’s the push, the weight shift. A grab bar for the toilet should sit around 33–36 inches, but more importantly, it should feel natural to reach. Too far or too high, and it doesn’t help.

In the shower, things get less predictable. Wet floors. Constant movement. A shower grab bar usually works best in two spots, one vertical near the entry for stepping in, and one horizontal inside for balance.

It doesn’t have to look perfect; it just has to be where your hand expects it.

What You’ll Need Before You Start

This isn’t one of those projects you can improvise through. You need a few specific things, and skipping any one of them is how people end up with bars that pull clean out of the wall.

You’ll need a stud finder; the magnetic kind can work, but an electronic one is more reliable in bathrooms where tile makes things tricky. You’ll need the right drill bits for your wall type (ceramic tile needs a diamond-tipped or carbide bit; don’t use a standard wood bit on tile unless you enjoy cracking $40 tiles). Silicone caulk. Stainless steel screws, ideally #10 or #12 gauge at 2.5 inches or longer if you’re going into studs. And a level, because a bar that tilts even slightly feels wrong to use.

If you can’t get into a stud (say the studs aren’t where you need the bar to be), toggle bolts rated for the load can work, but this takes experience. For bathroom safety bars bearing real weight, stud mounting is always the preference.

The Step-by-Step: How to Install a Grab Bar

Once you’ve got your placement figured out and your materials together, here’s how the actual process of installing a grab bar goes –

Mark your location: Hold the bar at the position you’ve chosen and mark the screw holes with a pencil or tape. Use a level across the marks before committing. Double-check the height against the person who’ll be using it; this matters more than any guideline.

Locate the studs: Run your stud finder across the wall behind those marks. If studs align — great. If they don’t, you’ll need to reposition the bar slightly or plan for toggle anchors. Never just screw into drywall. Especially in a wet area.

Drill the pilot holes: For tile, score a small X with a utility knife first to prevent slipping. Start slow, let the drill do the work. Don’t push hard. Cracked tile is usually the result of someone rushing this part.

Mount the flanges first: Most wall-mounted grab bar designs use flanges (the round end pieces) that screw into the wall separately before the bar snaps or screws onto them. Get those secure and flush before the bar goes on.

Seal it: Apply silicone caulk around each flange before final mounting. Water getting behind the flange over time is how you end up with mold and weakened walls. Don’t skip this even if it feels excessive.

Test it: Really test it. Don’t just wiggle it. Put your actual body weight on it in multiple directions. A properly installed bar should feel like it’s part of the wall.

Mounting MethodSecurity LevelBest Use Case
Wood Stud ScrewsMaximumHeavy leaning and full body weight support
Secure Mount AnchorsHighHollow walls where studs are poorly spaced
Suction Cup BarsZeroDo not use for safety, only for light balance
Toggle BoltsLowNot recommended for bearing heavy loads

What This Usually Costs (Roughly Speaking)

This is the part people hesitate on, but it’s not as heavy as it sounds. A basic setup with one or two grab bars can cost anywhere between $80 to $150 per bar if you’re hiring someone. That usually covers simple installs where the studs line up, and the wall cooperates. If things get a little more involved, tile walls, awkward spacing, or needing reinforcement, the bathroom grab bar installation cost can move closer to $150 to $300 per bar. Doing it yourself brings the cost down a lot. You’re mostly paying for the bar and tools if you don’t already have them. A good quality wall-mounted grab bar itself can range from $25 to $100, depending on build and finish.

Full bathroom setups with multiple bathroom safety bars or bathroom hand rails can add up, but even then, it’s still one of those upgrades that costs less than you expect once you look at it properly. And honestly, once it’s done, the cost stops being the thing you think about.

The Emotional Shift

Once the tools are put away and the dust is cleaned up, something changes in the house. The tension in the shoulders drops. There is no more hovering outside the door, listening for a slip. The bathroom becomes a place of utility again. A few pieces of well-placed metal can be the most important furniture in the whole house.

Conclusion

Most people don’t think about this until something almost happens. A slip that didn’t turn into a fall. A moment where balance felt uncertain. And then the bathroom feels different. Not unsafe. Just less forgiving than it used to be. That’s where this whole thing lands.

Installing grab bars doesn’t mean you are preparing for the worst. It just means that you are making everyday movement feel steady and reliable again. Like your space is working with you, not against you. Once they’re in the right place, you stop paying attention to them. You just move.

FAQs

1. Can I install grab bars without drilling into studs?

You can, but it’s not ideal. Studs provide real support. Anchors alone aren’t always reliable for long-term use.

2. What is the best height for grab bars?

There’s no perfect number. Around 33–36 inches is common, but it should match the user’s reach and comfort.

3. Are suction grab bars safe?

They work for temporary support, not full weight. They’re not a replacement for properly installed bars.

4. How long does installation take?

Usually under an hour per bar. More reinforcement is needed.

5. Do grab bars damage bathroom walls?

Not if installed correctly. In fact, proper installation protects the wall from stress over time.

6. Are ADA-compliant grab bars necessary for homes? 

Not required, but they’re a reliable guideline for safe placement and sizing.

Bathroom Safety Equipment

Top Bathroom Safety Equipment Every Senior Should Have

The bathroom it’s a place of comfort and routine, but it can also become a potential hazard for seniors. Slippery tiles, low toilets, and the simple act of stepping in and out of the shower can pose significant challenges. But don’t worry! With the right bathroom safety equipment, you can transform your bathroom or your loved one’s bathroom into a safe and accessible space, allowing seniors to maintain their independence and dignity. This isn’t about giving up the joy of a relaxing bath or the convenience of a quick shower; it’s about making those experiences safer and more enjoyable. 

When we can baby-proof our homes for little ones, why not “senior-proof” them as well? Creating a supportive environment is key, and one of the most important rooms to focus on is the bathroom. Fortunately, there’s a wide range of bathroom safety equipment available to make this space safer and more comfortable. 

Let’s explore the top bathroom safety accessories that every senior should have.

1. Grab bars

Grab bars provide reliable support and help prevent falls. These sturdy grab bars for bathroom safety can be strategically placed near the toilet, shower, and bathtub to offer support and prevent falls. They’re like having a helping hand always within reach. When choosing grab bars, make sure they are securely installed and can support the user’s weight. Look for ones with a textured surface for a better grip, especially when hands are wet.

2. Bath chairs and shower benches

Standing for extended periods in the shower can be tiring and risky for seniors. Bath chairs and shower benches offer a comfortable and stable place to sit while bathing, drastically reducing the risk of slips and falls. There are various styles and sizes available to fit the user’s needs and bathroom layout, and some even come with backrests for added support.

3. Raised toilet seats

Lower toilets can be uncomfortable and difficult for seniors to use, causing strain when sitting or standing. Raised toilet seats make it easier for seniors to use the toilet, offering more comfort and independence. Some raised toilet seats even include built-in handles for additional support. That’s why it is very important to choose the best raised toilet seats for your toilet.

4. Toilet safety rails

Getting on and off the toilet can be a challenging task for some seniors. Toilet safety rails provide additional support and stability, making this routine activity much safer and easier. They attach to the toilet and offer sturdy handholds, reducing the risk of falls.

5. Non-slip mats and rugs

Slippery floors are the biggest and most common hazard in the bathroom. Non-slip mats and rugs can provide a secure footing, preventing slips and falls while in the shower or bathtub. Choose mats with a strong grip, and place them in areas where water is likely to accumulate.

6. Handheld shower heads

A handheld shower head offers more control over water flow and placement, which is especially helpful for seniors with limited mobility. It also makes it easier to bathe while seated on a shower chair or bench.

7. Specialized bathing aids

In addition to the essentials, there are specialized bathing aids designed to address specific needs. These can include long-handled sponges and brushes for hard-to-reach areas, as well as bath lifts for those with significant mobility issues.

Where to find these helpful products?

At ACG Medical Supply, we understand the importance of safety and independence for seniors. That’s why we offer a carefully curated selection of bathroom safety accessories designed to enhance stability, comfort, and accessibility. Our range includes bath chairs and shower benches for a secure bathing experience, grab bars for bathroom safety to prevent slips, toilet safety rails for extra support, and much more.

Conclusion

Creating a safe and accessible bathroom for seniors is an act of love and respect. By implementing these simple yet effective changes, you can empower seniors to maintain their independence, and dignity, and enjoy the comfort of their own bathroom without fear. Investing in bathroom safety accessories is an investment in the safety and happiness of your loved ones and that’s priceless.

Search Articles

Medical Tips in Your Inbox

Get expert recovery advice, equipment guides, and caregiver tips — delivered weekly. No spam, unsubscribe anytime.

Need equipment today?

Same-day or next-day delivery in the DFW area. Call us now for immediate assistance.