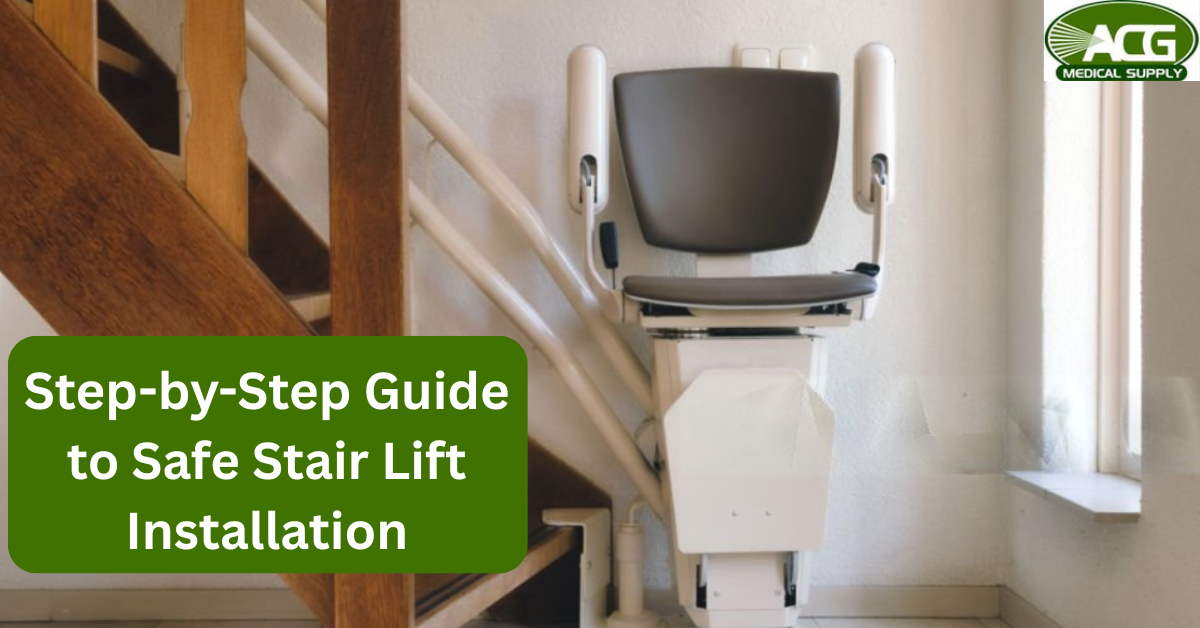
So, you’ve decided to get a stair lift – or you’re at least seriously thinking about it. Good call. But before installation day rolls around, you should be aware of what actually happens when the technicians show up.
Most people know stair lifts make life easier, but not many realise what goes into getting one set up safely and properly.
Don’t worry, it’s not as complicated as it sounds. Here’s a simple walk-through of what really happens during the stair lift installation process.
Step One: Pre-Installation Assessment
It all begins with a quick home check. A technician drops by to take a look at your staircase and see what they’re working with. They’ll measure the steps, check the angle, look for nearby power outlets, and decide whether a straight or curved stair lift fits best.
Straight ones are the easy kind – they use pre-made rails, so they’re quicker to set up and usually lighter on the wallet. Curved lifts take a bit more time since everything has to be custom-fitted to your staircase’s twists and turns.
Step Two: Discussing Budget and Options
This is the planning stage, where you go over details, pricing, and setup timelines. The stair lift installation cost usually includes more than you think – rail, seat, controls, wiring, and sometimes even future service visits.
A basic straight model, like the Harmar Pinnacle Stair Lift, can often be installed in a few hours. A curved or heavy-duty version, like those ACG Medical Supply offers, requires extra prep time and higher costs since they’re custom-built. Outdoor models are another category – they’re weatherproof, designed to handle sun, rain, and dust without wearing out quickly.
If your home already has nearby power outlets, great—it speeds things up. If not, your installer might coordinate with an electrician to make sure everything’s ready before the big day.
Step Three: Installation Day
When installation day arrives, expect a small crew. They’ll bring in tools, rail sections, and safety gear. You’ll want to clear the stairway area and any furniture nearby. Most installs, unless it’s a curved model, finish within the same day.
The process usually goes something like this:
- Rail and Mounting Setup – Technicians anchor the rail base along your steps or wall (depending on design).
- Chair Assembly and Wiring – The lift chair, motor, and electricals come next, ensuring smooth travel along the rail.
- Testing the Ride – Once power is connected, the lift goes through several full rides for calibration.
- Safety and User Training – You’ll get a short walkthrough on controls, folding the seat and footrest, and what to do if it stops midway.
Step Four: Safety Checks (The Stuff You Shouldn’t Skip)
Before the installer packs up, they’ll run through a few important checks to make sure everything’s solid and safe to use.. Stair lift safety checks protect you long after the installation is done.
Here’s what technicians typically verify before sign-off:
- Rail Stability: The rail should feel firm and stay put when you’re on it—no shifting or odd squeaks.
- Battery Backup: They’ll make sure it can still go up and down once if the power ever cuts out.
- Seat Locks and Sensors: The seat should feel secure before it moves so you get a steady, comfortable ride every time.
- Footrest Safety Edges: If anything blocks the path (like a pet or a dropped object), the lift should automatically stop.
- Emergency Stop Function: Every stair lift has one – make sure you know where it is and how to reset it.
Think of this as your “final inspection.” If something feels off or louder than normal, speak up before the crew leaves.
Post-Installation Maintenance
Nobody talks about maintenance until something breaks. But stair lift safety checks are important and should be done year-round. Weekly? Just wipe down the seat and rails. Nothing complicated. But annually (or closer if you use it a lot), a professional needs to check the brakes, inspect electrical connections, lubricate moving parts, and verify that bolts haven’t loosened.
Ignoring this? Motors wear out faster. Brakes degrade. Battery backup fails when you need it most. It’s not dramatic stuff, but it’s real.
How Installation Timelines Usually Compare
| Stair Lift Type | Typical Installation Time | Cost Range (approx.) | Notes |
| Straight Stair Lift | 2–3 hours | Lower cost | Pre-fabricated rail |
| Curved Stair Lift | 3–4 weeks (custom rail) | Higher cost | Custom design |
| Heavy Duty Stair Lift | 3–5 hours | Mid to high range | For higher weight capacities |
| Outdoor Stair Lift | 3–6 hours | Variable | Weatherproof components |
Conclusion
Installing a stair lift isn’t rocket science, but it deserves respect. Get a professional assessment. Understand what you’re choosing – straight or curved, regular or heavy-duty, indoor or outdoor stair lifts. Understand the cost upfront.
And then once it’s in? Maintain it. Seriously.
Suppliers like ACG Medical Supply handle this stuff day in, day out. They know what works. If you’re ready to get this sorted, reach out to them. Get an evaluation. See what a Harmar Pinnacle Stair Lift or a different model looks like in your specific staircase.
Independence shouldn’t feel complicated. With the right stair lift and solid installation, it isn’t.
FAQs (Frequently Asked Question)
Q: How long does installation take?
A: Straight lifts often done in a few hours. Curved ones? A couple of days is normal.
Q: Can outdoor stair lifts handle weather?
A: Yes. Made for rain, sun, and snow with materials that won’t quit.
Q: Is DIY a good idea?
A: Nope. Professionals ensure it’s safe, secure, and runs right.
Q: What about maintenance?
A: Clean regularly, charge batteries weekly, and get pro checkups every 6-12 months.